Post by fugu on Feb 18, 2013 22:45:18 GMT -5
If you have some coordination and can read a tech sheet you can probably paint!
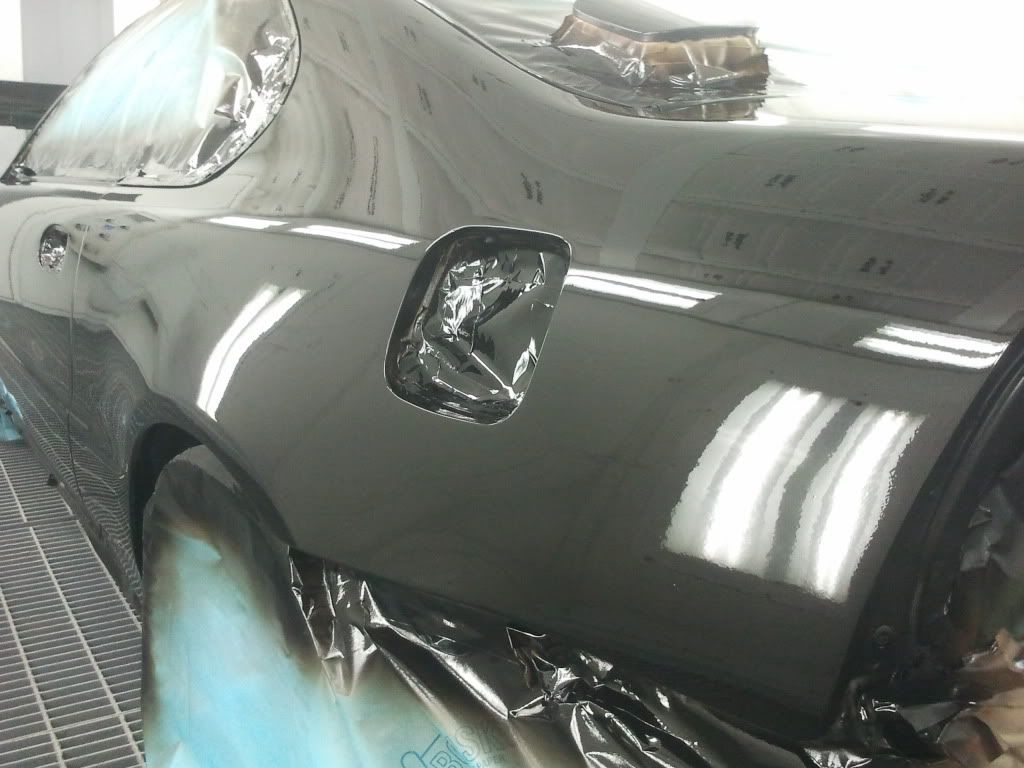
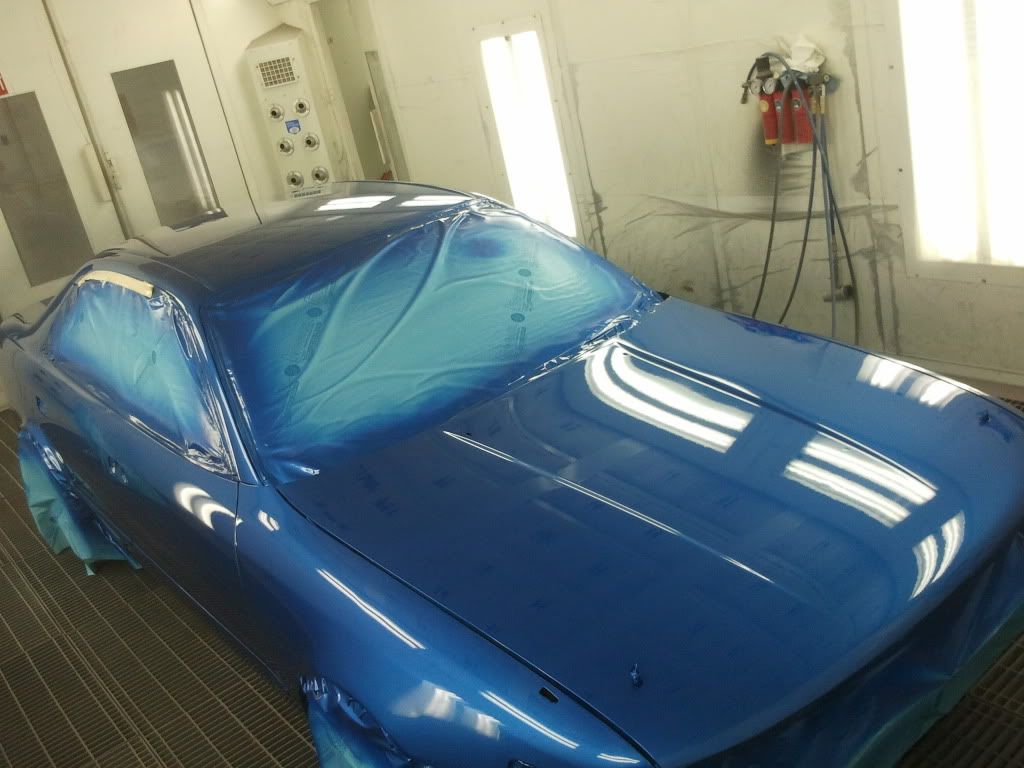
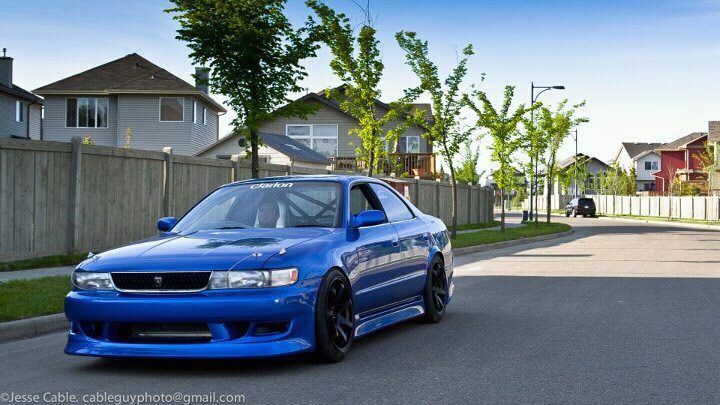
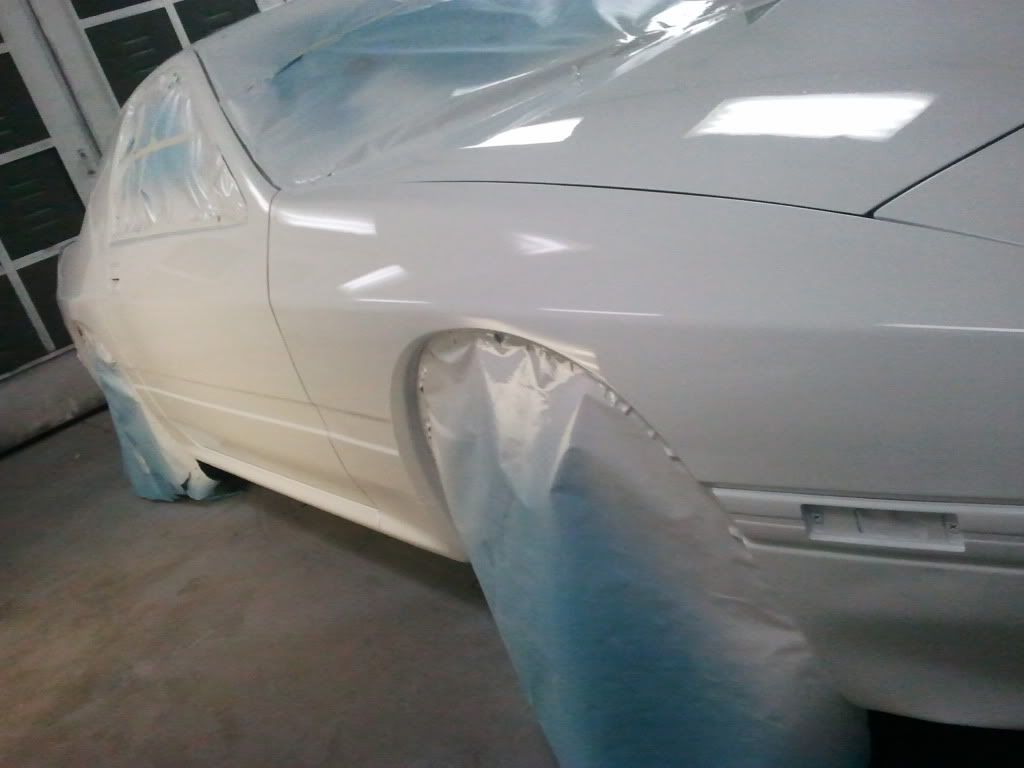
Anyone that is reading this and willing to take on painting a car part or two has most likely had a spray bomb in their hands at one point in time and probably messed up hard with it at another point in time. So i'm going to write up some guidelines and give you some information on how to successfully paint with an HVLP or RP spray gun that an automotive painter would use.
Painting a car isn't as hard as it seems but does require a steady hand and an understanding of the product being used. The paint used in autobody is thin and requires a little more attention then a spray can counterpart to use correctly with proper results. With a little practice and a better understanding, maybe some coaching almost anyone can paint.
I won't get into Prepping but i'm going to write this guide up assuming that a part to be painted is already properly prepped. Prep work is just as important as painting and when done correctly greatly improves the chances of a successful paintjob!
Paint Guns:
This is a Sata 3000 RP Digital, I own one of these and it's been one of my favourite guns to shoot with. Anything you've seen that i've painted has been shot with this exact gun. These are expensive and I will assume that if you are trying to paint on your own you will not be spending money on a gun like this!

This is a RP (reduced Pressure) and uses less air and paint compared to an HVLP (high Volume Low Pressure) gun and even way more less then a standard Gravity feed gun.
An RP, HVLP and Gravity feed will all look the same for the most part but all 3 consume different levels of paint.
A Gravity Feed gun is more suited to priming a car, where you would want some build up of material to sand off in the prepping process.
instead you can get similar results using a less expensive gun purchased from Princess auto. If you have a techsheet containing the information on the paint product you are using you can identify which gun will work for you!
Tip Sizes:
This is the more important then the gun you use! If you chose a large tip size and a Gravity feed you will end up with the thickest paint job ever! So, refer to your tech sheet and you'll notice that most Basecoats require a 1.2 =1.4 mm tip in the gun you are using. This measurement is the size of the opening where the needle protrudes from at the center of the spray nozzle.
-The lower the tip size the less paint it will spray
-You can't mix and match Nozzle caps and needles, it just won't work
What do all the dials do?

The Airmicrometer controls how much Air Pressure the gun uses (PSI), you set this to the recommended pressure on the Techsheet , if the gun doesn't show it you can add a gauge to the air inlet on the bottom of the handle as shown.

Usually the pressure is in the mid 20's 21PSi-28Psi generally.
Too high will dryspray a panel (create excess overspray) and will not wet out very well.
Too low and it will run the paint and build up extra paint thickness.
Fluid Control controls how far the trigger can be pulled. This will restrict how much paint is released into the air stream.
-Setting this too far back will allow alot of paint to come out (have to move really fast when painting the part)
-Setting it to far in will cause little to no paint to come out and can make the painting process very slow.
If unsure, pull trigger and tighten the knob until the trigger no longer rests on the back of the handle. Adjust more if too much paint is coming out.
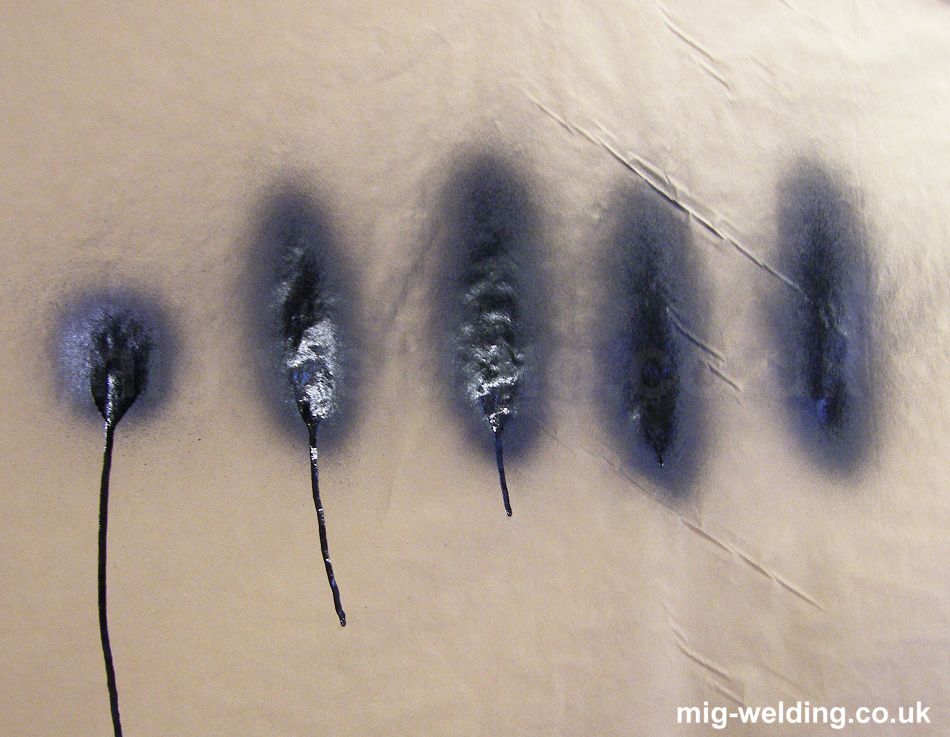
Fan Control knob This one is very important.! This controls how the paint is dispersed from the gun and will determine the ease of painting a panel.
A fan can be tightened up (far left of picture) to spray tight corners) and opened up (Far right) to spray large panels.
You have to be easy with the gun's trigger when running a tight fan. The picture easily shows why
How to Spray?
Most basecoats and Clearcoats require 2 coats to get the required buildup and coverage needed to finish a paintjob well.
crappy video but it's the just of it
When you complete your first coat be sure to wait the recommended amount of time before putting on the second coat. (skipping this step is why the last time you spray bombed a part it failed and ran hard).
Usually takes 10-20 minutes for the paint to "skin" over and be ready to be recoated. Not waiting for this to happen will trap solvents under the second coat and cause bubbling or peeling later on. Take your time when painting and the results will be worth it.
TIPS:
-stay 8" away from the panel/part
-pull the trigger and dispense paint away from the panel and sweep your arm in
-50/50 overlap
-It's okay to do a third coat!
-Spray a test pattern on masking paper taped to a wall!
TL:DR paint process from start to finish.
-Mix paint
-Use Tack Rag and solvent wash (wax and grease remover) to final clean panel
-Spray first coat using a 50/50 overlap
-Wait 15-20 minutes
-Spray second coat of paint
(if the paint covered really well clean the gun out using solvent and carry on with Clear)
-Spray a third coat if needed.
-Clean gun
-Mix Clearcoat
-Spray first coat (it's okay if it isn't perfectly shiny or a little drier looking).
-wait 10-15 minutes
-Spray second coat and aim for a uniform consistency but don't over do it. Medium Wet Coat is what the term is. Just wet enough to be shiny but not like glass!
-It's okay to spray a third coat, but will take a little longer to dry.
-Let it cure overnight, 24 hours for a full cure.
This isn't a complete guide but it is a starting point. If you are brave enough to take on painting a part with a spray gun feel free to message me or ask more questions, I can answer pretty much anything!
Anyone that is reading this and willing to take on painting a car part or two has most likely had a spray bomb in their hands at one point in time and probably messed up hard with it at another point in time. So i'm going to write up some guidelines and give you some information on how to successfully paint with an HVLP or RP spray gun that an automotive painter would use.
Painting a car isn't as hard as it seems but does require a steady hand and an understanding of the product being used. The paint used in autobody is thin and requires a little more attention then a spray can counterpart to use correctly with proper results. With a little practice and a better understanding, maybe some coaching almost anyone can paint.
I won't get into Prepping but i'm going to write this guide up assuming that a part to be painted is already properly prepped. Prep work is just as important as painting and when done correctly greatly improves the chances of a successful paintjob!
Paint Guns:
This is a Sata 3000 RP Digital, I own one of these and it's been one of my favourite guns to shoot with. Anything you've seen that i've painted has been shot with this exact gun. These are expensive and I will assume that if you are trying to paint on your own you will not be spending money on a gun like this!

This is a RP (reduced Pressure) and uses less air and paint compared to an HVLP (high Volume Low Pressure) gun and even way more less then a standard Gravity feed gun.
An RP, HVLP and Gravity feed will all look the same for the most part but all 3 consume different levels of paint.
A Gravity Feed gun is more suited to priming a car, where you would want some build up of material to sand off in the prepping process.
instead you can get similar results using a less expensive gun purchased from Princess auto. If you have a techsheet containing the information on the paint product you are using you can identify which gun will work for you!
Tip Sizes:
This is the more important then the gun you use! If you chose a large tip size and a Gravity feed you will end up with the thickest paint job ever! So, refer to your tech sheet and you'll notice that most Basecoats require a 1.2 =1.4 mm tip in the gun you are using. This measurement is the size of the opening where the needle protrudes from at the center of the spray nozzle.
-The lower the tip size the less paint it will spray
-You can't mix and match Nozzle caps and needles, it just won't work
What do all the dials do?

The Airmicrometer controls how much Air Pressure the gun uses (PSI), you set this to the recommended pressure on the Techsheet , if the gun doesn't show it you can add a gauge to the air inlet on the bottom of the handle as shown.

Usually the pressure is in the mid 20's 21PSi-28Psi generally.
Too high will dryspray a panel (create excess overspray) and will not wet out very well.
Too low and it will run the paint and build up extra paint thickness.
Fluid Control controls how far the trigger can be pulled. This will restrict how much paint is released into the air stream.
-Setting this too far back will allow alot of paint to come out (have to move really fast when painting the part)
-Setting it to far in will cause little to no paint to come out and can make the painting process very slow.
If unsure, pull trigger and tighten the knob until the trigger no longer rests on the back of the handle. Adjust more if too much paint is coming out.
Fan Control knob This one is very important.! This controls how the paint is dispersed from the gun and will determine the ease of painting a panel.
A fan can be tightened up (far left of picture) to spray tight corners) and opened up (Far right) to spray large panels.
You have to be easy with the gun's trigger when running a tight fan. The picture easily shows why

How to Spray?
Most basecoats and Clearcoats require 2 coats to get the required buildup and coverage needed to finish a paintjob well.
crappy video but it's the just of it
When you complete your first coat be sure to wait the recommended amount of time before putting on the second coat. (skipping this step is why the last time you spray bombed a part it failed and ran hard).
Usually takes 10-20 minutes for the paint to "skin" over and be ready to be recoated. Not waiting for this to happen will trap solvents under the second coat and cause bubbling or peeling later on. Take your time when painting and the results will be worth it.
TIPS:
-stay 8" away from the panel/part
-pull the trigger and dispense paint away from the panel and sweep your arm in
-50/50 overlap
-It's okay to do a third coat!
-Spray a test pattern on masking paper taped to a wall!
TL:DR paint process from start to finish.
-Mix paint
-Use Tack Rag and solvent wash (wax and grease remover) to final clean panel
-Spray first coat using a 50/50 overlap
-Wait 15-20 minutes
-Spray second coat of paint
(if the paint covered really well clean the gun out using solvent and carry on with Clear)
-Spray a third coat if needed.
-Clean gun
-Mix Clearcoat
-Spray first coat (it's okay if it isn't perfectly shiny or a little drier looking).
-wait 10-15 minutes
-Spray second coat and aim for a uniform consistency but don't over do it. Medium Wet Coat is what the term is. Just wet enough to be shiny but not like glass!
-It's okay to spray a third coat, but will take a little longer to dry.
-Let it cure overnight, 24 hours for a full cure.
This isn't a complete guide but it is a starting point. If you are brave enough to take on painting a part with a spray gun feel free to message me or ask more questions, I can answer pretty much anything!


